Hello Beautiful Scrappers! It's Amy here with a quick little felt flower tutorial for you all! I like to think of this one as a spruced up version on a lollipop flower :) Today we are working with felt, BUT this can very easily be done with paper as well...and it looks just as awesome! Shall we get started?!
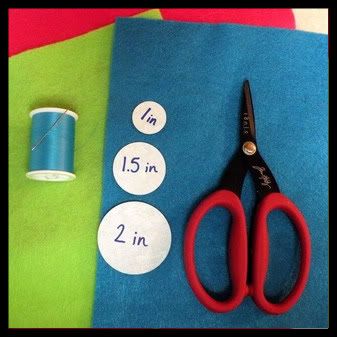
Supplies Needed:
*Felt - I used 3 different colors, but you don't have to
*A 1", 1.5", and a 2" precut circle. I used my cricut to cut this pattern.
*Scissors
*Needle and thread
*Decorative center. You can use ANYTHING you want!
First you need to decide what color arrangement you want....
What looks good to YOU or what works best for your project.
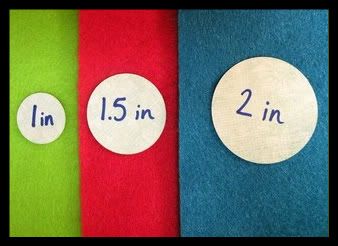
Then simply lay your precut circle 'pattern' onto the felt and trace.
You will need 5 circles of each size.
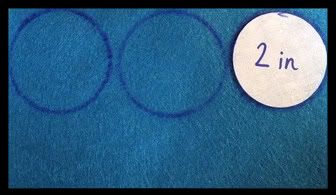
Then cut them all out..easy right.
And since felt doesn't fray there is no need to finish off the edges.
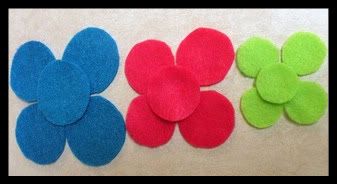
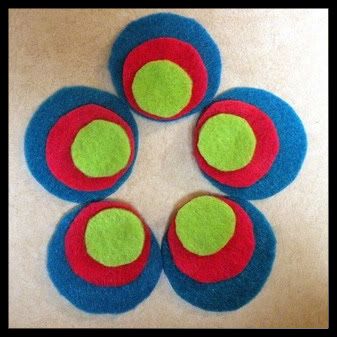
Next we need to layer them as shown below.
You want them all to touch at one edge.
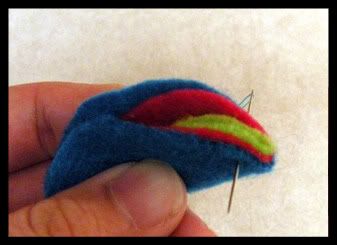
Then simply take them (one at a time) and fold them in half like a little felt sandwich.
Run a quick stitch several times to tack them together and tie it off.
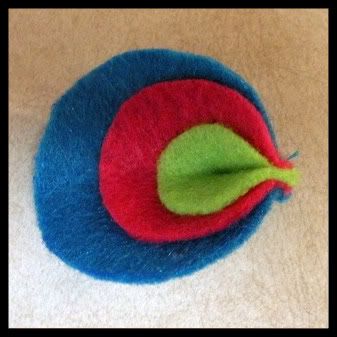
And this is that you end up with. Now continue until you get all 5 completed.
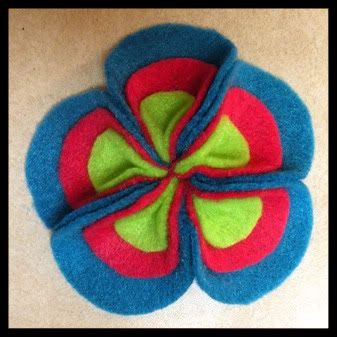
Here we are...we have all 5 ready to go. Below you can see how we are putting them together.
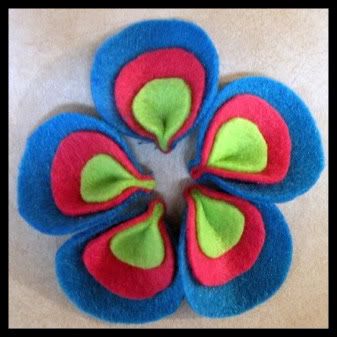
You will want to take your needle and thread and simply tack all the petals together from the back side. Make sure you stitch it down good so it's nice and tight. And you will end up with something like the flower below.
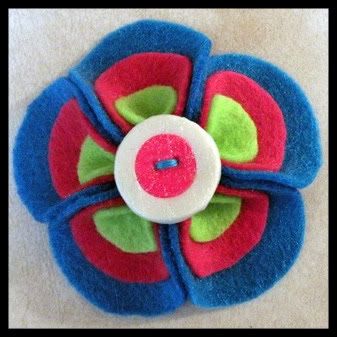
The finishing touch....add a pretty little center. I used a handmade polymer clay button for mine, but you could pretty much use anything you like! That's the beauty of making things yourself...customizing :) Now it's all ready to add to a project. I used this one on a headband actually...it's so cute!
Side note...you can always make the circles smaller for a more petite flower....they look so cute on a smaller scale!